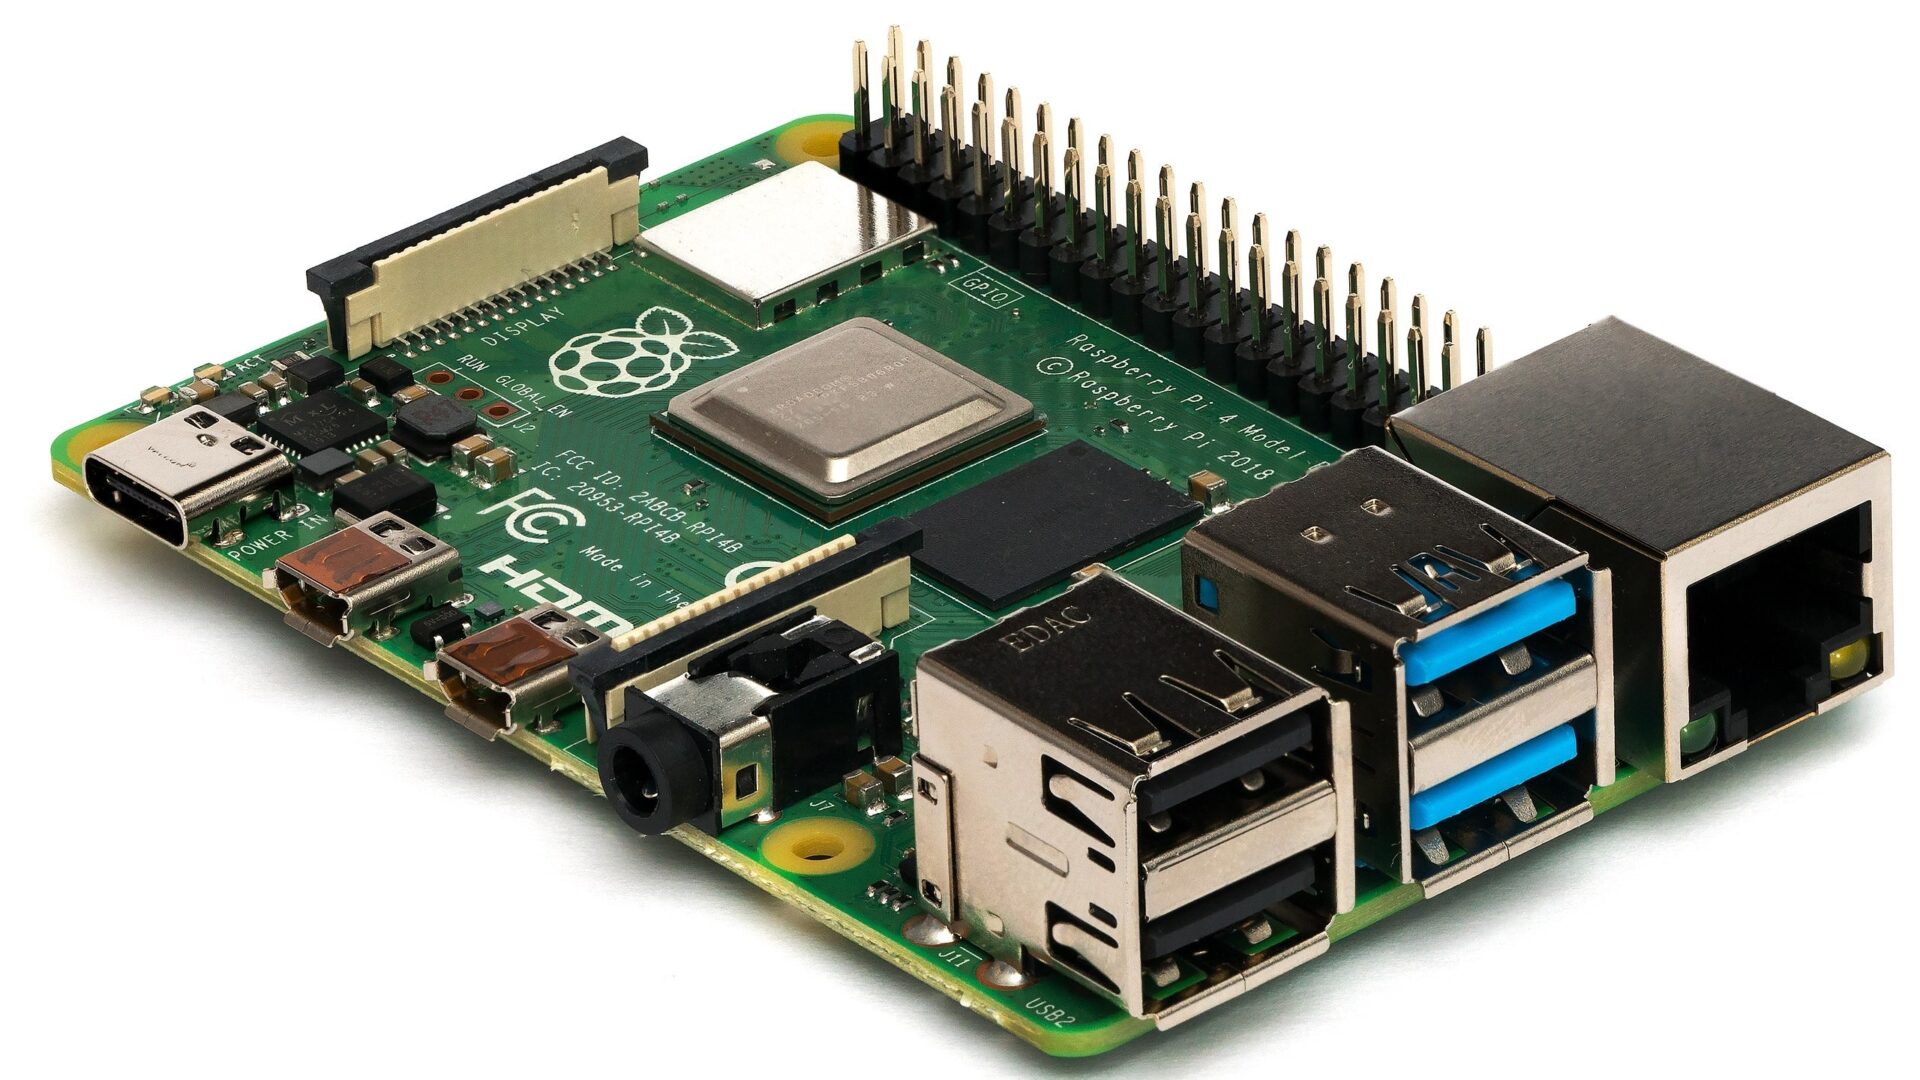
If you’re running a Raspberry Pi with a somewhat important service in your network, like a DNS-Level Adblocker, Nextcloud, a proxy web server and so on, you’ll probably like to back it up on a regular basis.
One way could be to unplug the MicroSD card – or any other kind of storage you use – from it, plug it into your workstation and make a copy of it. While this definitely works, it will leave your Raspberry Pi offline for that time, which in return would interrupt the service it provides.
So, a better way would be to run the backup while the Raspberry Pi is up and running. And let me tell you, this is pretty simple to do with the dd command.
Some Assumptions
You have some sort of storage somewhere (like a NAS for example) that can be mounted via cifs or nfs, whatever flavour you like. I’ll be using cifs in this example.
The backup storage is mounted to /mnt/Backup/, but you can mount it anywhere you like in your file system.
Mount the Storage
Your CIFS is hopefully requiring a username and password. So you’ll need to create a credentials file first. This file is used to pass your credentials – username and password – to cifs during the mount process.
For simplicities sake, we’ll have this file as /home/pi/.mount-credentials/backup-storage with the following content:
username=your_cifs_user
password=your_cifs_password
To make sure this file cannot be changed by accident, secure it:
chmod 600 /home/pi/.mount-credentials/backup-storage
Now, that this is done, it’s time to tell the system where we want to mount the backup storage.
First, the mount point needs to be created. This is simply a directory where the backup storage is mounted to.
sudo mkdir -p /mnt/Backup
Now it’s time to mount the backup storage to its new location. Again for simplicities sake, we use the /etc/fstab file here. This way it’ll be mounted every time the Raspberry Pi is booting.
To do so, add the following line to your /etc/fstab file:
//my_server.lan/backup/raspberry-pi /mnt/Backup cifs credentials=/home/pi/.mount-credentials/backup-storage,vers=3.0,uid=pi,gid=pi,iocharset=utf8,dir_mode=0770,file_mode=0655,noperm 0 0
Explanation:
//my_server.lan/backup/raspberry-pi is the directory on your backup storage where the backup files will be written to. Change this accordingly.
/mnt/Backup is where the backup storage is mounted and can be accessed.
cifs is the network filesystem we use.
And the long line of options are options that are passed down to cifs, like our credentials, which user should be used, directory and file permissions, charset and so on.
Save the file and run the following command to mount the backup storage:
sudo mount -a
The Backup Script
Now that we have taken care of the backup location, it’s time to write our little backup script. Nothing too fancy, just some lines of shell/bash script that will check if the backup storage is mounted and try to mount it if needed and create the backup file.
But before we do so, we need to figure out which device our drive is. Luckily that’s a rather simple task, just run lsblk in your console and you should see something like this:
pi@raspberry_pi ~ $
» lsblk
NAME   MAJ:MIN RM   SIZE RO TYPE MOUNTPOINT
sda      8:0    0 119.2G  0 disk
├─sda1   8:1    0   256M  0 part /boot
└─sda2   8:2    0   119G  0 part /
/dev/sda is the device in my case. This could vary in your setup. Make sure to change it accordingly in the backup script.
File: /home/pi/raspi-backup
#!/usr/bin/env bash


isMounted () {
    findmnt "$1" > /dev/null;
}


run_backup () {
    # Set some variables
    DATE=`/bin/date '+%Y-%m-%d'`
    TIMESTAMP="$(date +%s)"
    HOSTNAME="$(hostname)"

    DEVICE_TO_BACKUP="/dev/sda"

    BACKUP_DIR="/mnt/Backup/"
    BACKUP_FILE_NAME="raspi-${HOSTNAME}-${DATE}-${TIMESTAMP}.img"


    # Mount the backup directory if necessary
    if ! isMounted "${BACKUP_DIR}";
        then
            sudo mount ${BACKUP_DIR}
    fi

    # Check again to see if the mount was successful.
    # If not, stop right here, something went horribly wrong
    if ! isMounted "${BACKUP_DIR}";
        then
            echo "Backup directory could not be mounted. Exiting here!"

            exit 1;
    fi


    # Now go forth and run the backup
    echo "Backing up ${DEVICE_TO_BACKUP} to ${BACKUP_DIR} as ${BACKUP_FILE_NAME} ..."
    time sudo dd if=${DEVICE_TO_BACKUP} of=${BACKUP_DIR}${BACKUP_FILE_NAME} bs=1M status=progress

    # Check for PiShrink (https://github.com/Drewsif/PiShrink)
    if command -v pishrink.sh > /dev/null
        then
            # Shrinking the image
            sudo pishrink.sh -rv ${BACKUP_DIR}${BACKUP_FILE_NAME}
    fi
}


run_backup
Make sure the file is executable with:
chmod +x /home/pi/raspi-backup
Run the Backup
The backup script is ready to be tested. To run a backup simply execute the following command in your console:
/home/pi/raspi-backup
With this command, your backup file will be created under /mnt/Backup/raspi-your_hostname-date-timestamp.img. Keep in mind, we are using a network connection to the backup storage, so this might take a while, depending on the size of your MicroSD card or other storage on your Raspberry Pi.
For my AdGuardHome Pi the output looks like this:
pi@adguard ~ $
» ./raspi-backup
Backing up /dev/sda to /mnt/Backup/ as raspi-adguard-2022-10-21-1666324418.img ...
127969263616 bytes (128 GB, 119 GiB) copied, 1155 s, 111 MB/s
122104+1 records in
122104+1 records out
128035676160 bytes (128 GB, 119 GiB) copied, 1161.04 s, 110 MB/s

real    19m21.064s
user    0m1.766s
sys     7m48.681s
Restore a Backup
To restore a backup you can use any tool that can write ISO images to a device, like the Raspberry Pi Imager for example, or Balena Etcher. The only thing you have to make sure of is that the device is large enough. You can even use the same MicroSD card again, and since you have to restore a previous version, something went wrong with the live system, so the data on this particular MicroSD is probably damaged or in any other way no longer viable anyways.
Last Words
Now, you only have to make sure to always have a somewhat recent backup!
This method is of course not limited to Raspberry Pi systems, you can apply this method to any Linux system you want. I used the Raspberry Pi here as an example to showcase how easy it is to create backups of a running system.
