Well, I have to admit, the title is a bit clickbait. You don’t build your own search engine per se, instead, you use an already-built open-source solution. All you need is your own server, VPS, Raspberry Pi or whatever you have. Heck, you can even run this locally on your Linux machine.
Reasons for hosting a search engine on your own are plenty, but mostly it’s about privacy. Google and other search provider collect a metric boatload of information with every search you run through them. And there is no need to feed them. What you search for should only concern you, after all.
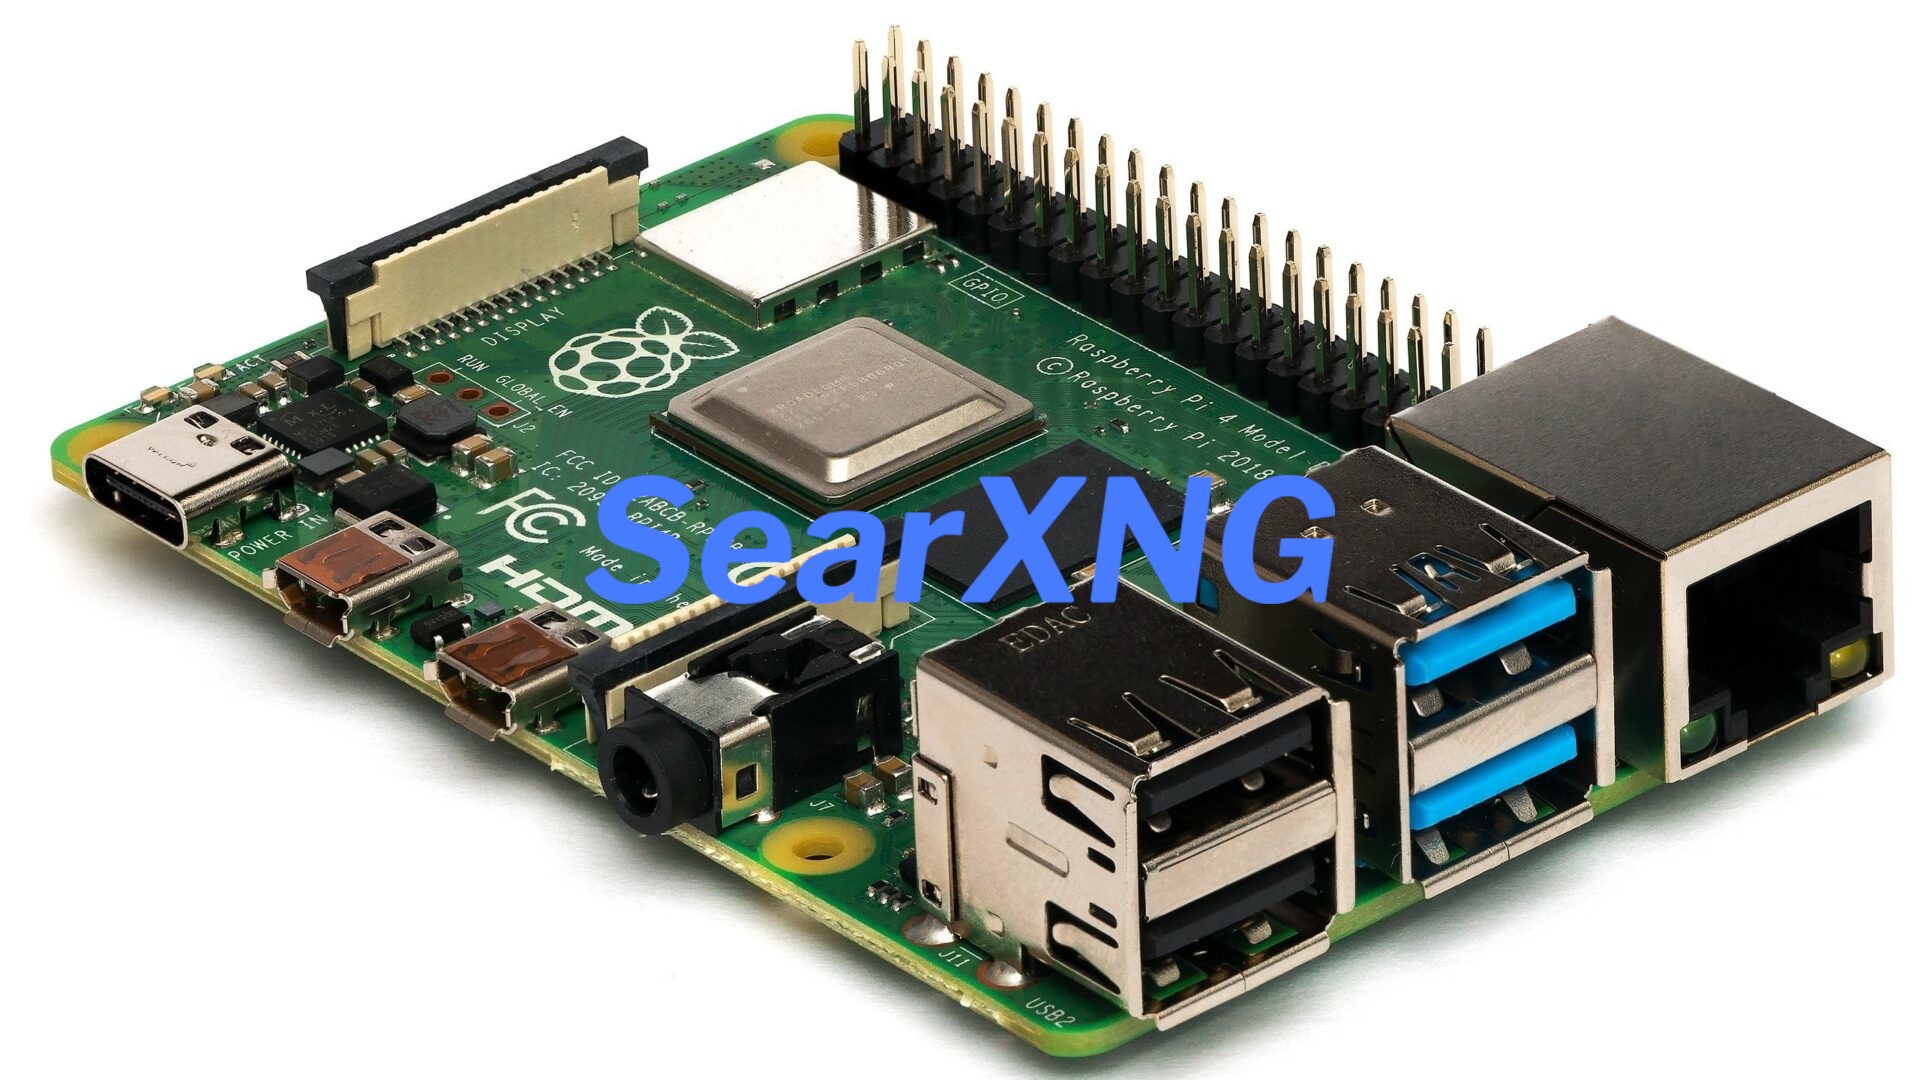
SearXNG is a so-called meta-search engine. Which is nothing else but fancy speak for it’s asking multiple other search engines to get you the search result. And by self-hosting it, all privacy-related data and information stay with you and the other search engines only get the IP of the server you are hosting it on. Nothing else.
So, let’s dive into this endeavour and get it set up, shall we?
Prerequisites and Preparing the System
As mentioned, you need some hardware to host this. If you already have a server hosting your website, this will do. A small 3 €/month VPS from a hoster will do as well, even the Raspberry Pi on your desk will do. For the latter, you need to do some port forwarding in your router if you want to access it from outside of your local network, but I’m sure you know how to do this, am I right?
With this out of the way, let’s get to it. SSH into your server and make sure everything is up-to-date.
Hint: System-relevant commands in this article are for Debian-based systems, so you might have to translate this to whatever distribution you use.
sudo apt update
sudo apt upgrade
Now, let’s install Docker if not already installed.
sudo apt install docker.io docker-compose
Install SearXNG
From this point on, please make sure you are not using root as the user, use your unprivileged system user. Using root for everything is just a lousy manner. So su into your user and cd into the home directory, we’ll be working in there.
The easiest way is to clone the SearXNG docker repository from GitHub and make the needed changes there.
git clone git@github.com:searxng/searxng-docker.git
Now, cd into the searxng-docker directory.
cd searxng-docker
The first file you should edit is the .env file. This file holds the hostname and your email address for Let’s Encrypt if you like to use HTTPS, and there is no reason not to do so.
nano .env
Set the variables there accordingly and save the file.
Feel free to also have a quick look at the docker-compose.yml file, but usually, you don’t need to change anything in there.
Next, you generate a secret key, which is used to do some encryption.
sed -i "s|ultrasecretkey|$(openssl rand -hex 32)|g" searxng/settings.yml
The last file that needs to be edited is searxng/settings.yml.
nano searxng/settings.yml
In this file, you can customise your search engine. You can give it its own name, tell it which search engines it should use to get the search results for you and so on. I recommend at least giving it its own name and letting it know to use GET instead of POST (Default) for search queries.
To do so, add the following to their respective sections. If a section is not already defined, you can simply add it.
server:
  method: "GET"
ui:
  static_use_hash: true
redis:
  url: redis://redis:6379/0
general:
  debug: false
  instance_name : "Not Google"
  contact_url: false
For a deeper dive into the settings, feel free to have a look at the documentation here.
Now that everything is configured, time to start it. To do so, simply run:
sudo docker-compose up -d
If everything went according to plan, you should now be able to access your very own search engine under the URL you defined earlier.
Have fun!
Thank you!
Any way to get it running without docker?
Thanks
Sure, on their main repository they have some instructions about it » https://github.com/searxng/searxng